A solar installation is one of the best investments you can make for your home.
While component costs have fallen in the past decade or so, the cost of labor has not.
Though some jobs should be left to the professionals, what if you could do some of it yourself to reduce costs?
Find out how to complete a DIY solar installation by following these 10 steps!
1. Determine Local Laws and Incentives
Some states and localities have invested heavily in solar incentives.
In some cases, solar installations have even become mandatory.
Restrictions and incentives could set the parameters for your project.
Here are some items to check for:
- Local or state regulations requiring a certain wattage of panels on new-construction homes
- Local permits and restrictions regarding licensed professionals for some installation tasks
- Insurance stance on DIY solar installation
- HOA rules regarding solar panels on the roof or in visible places on the property
- Arrangements with local energy companies regarding selling credits back to them
- Tax benefits at the state and federal levels
2. Calculate Your DIY Solar System Size
Oversizing your solar installation is a good problem to have, but only if you can sell excess energy to your local utility company.
For most people, it’s better to cover the basic needs and grow the solar array over time.
There are a few things to consider when determining solar size.
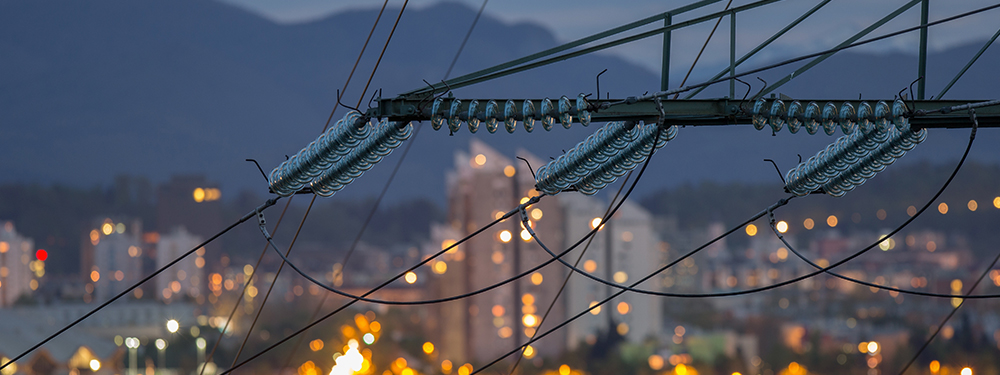
Off-Grid vs. On-Grid Solar
Are you seeking complete independence from the grid or want to supplement your current usage?
Naturally, you’ll need a more extensive system to go completely off-grid and run all your necessary appliances.
Grid-tied solar systems have more room for error because the grid provides an excellent backup.
Energy Consumption
The best way to calculate energy consumption is to check your energy bills.
Look at your annual consumption and divide it by 12 to account for monthly fluctuations.
You generally need roughly 4,000 watts for every 500 kilowatt-hours of monthly use.
This can fluctuate based on environmental factors, such as pollution, the type of panels, and the amount of sunlight your property gets.
Peak Power
If you choose to go 100% off-grid with your DIY solar, you need an inverter to convert DC to AC power.
Like generators, inverters have wattage ratings.
Check the wattage on all your high-power items and estimate simultaneous usage requirements to determine how big your inverter must be.
Bigger is almost always better for your generator, but bigger generators also use more power, so plan accordingly.
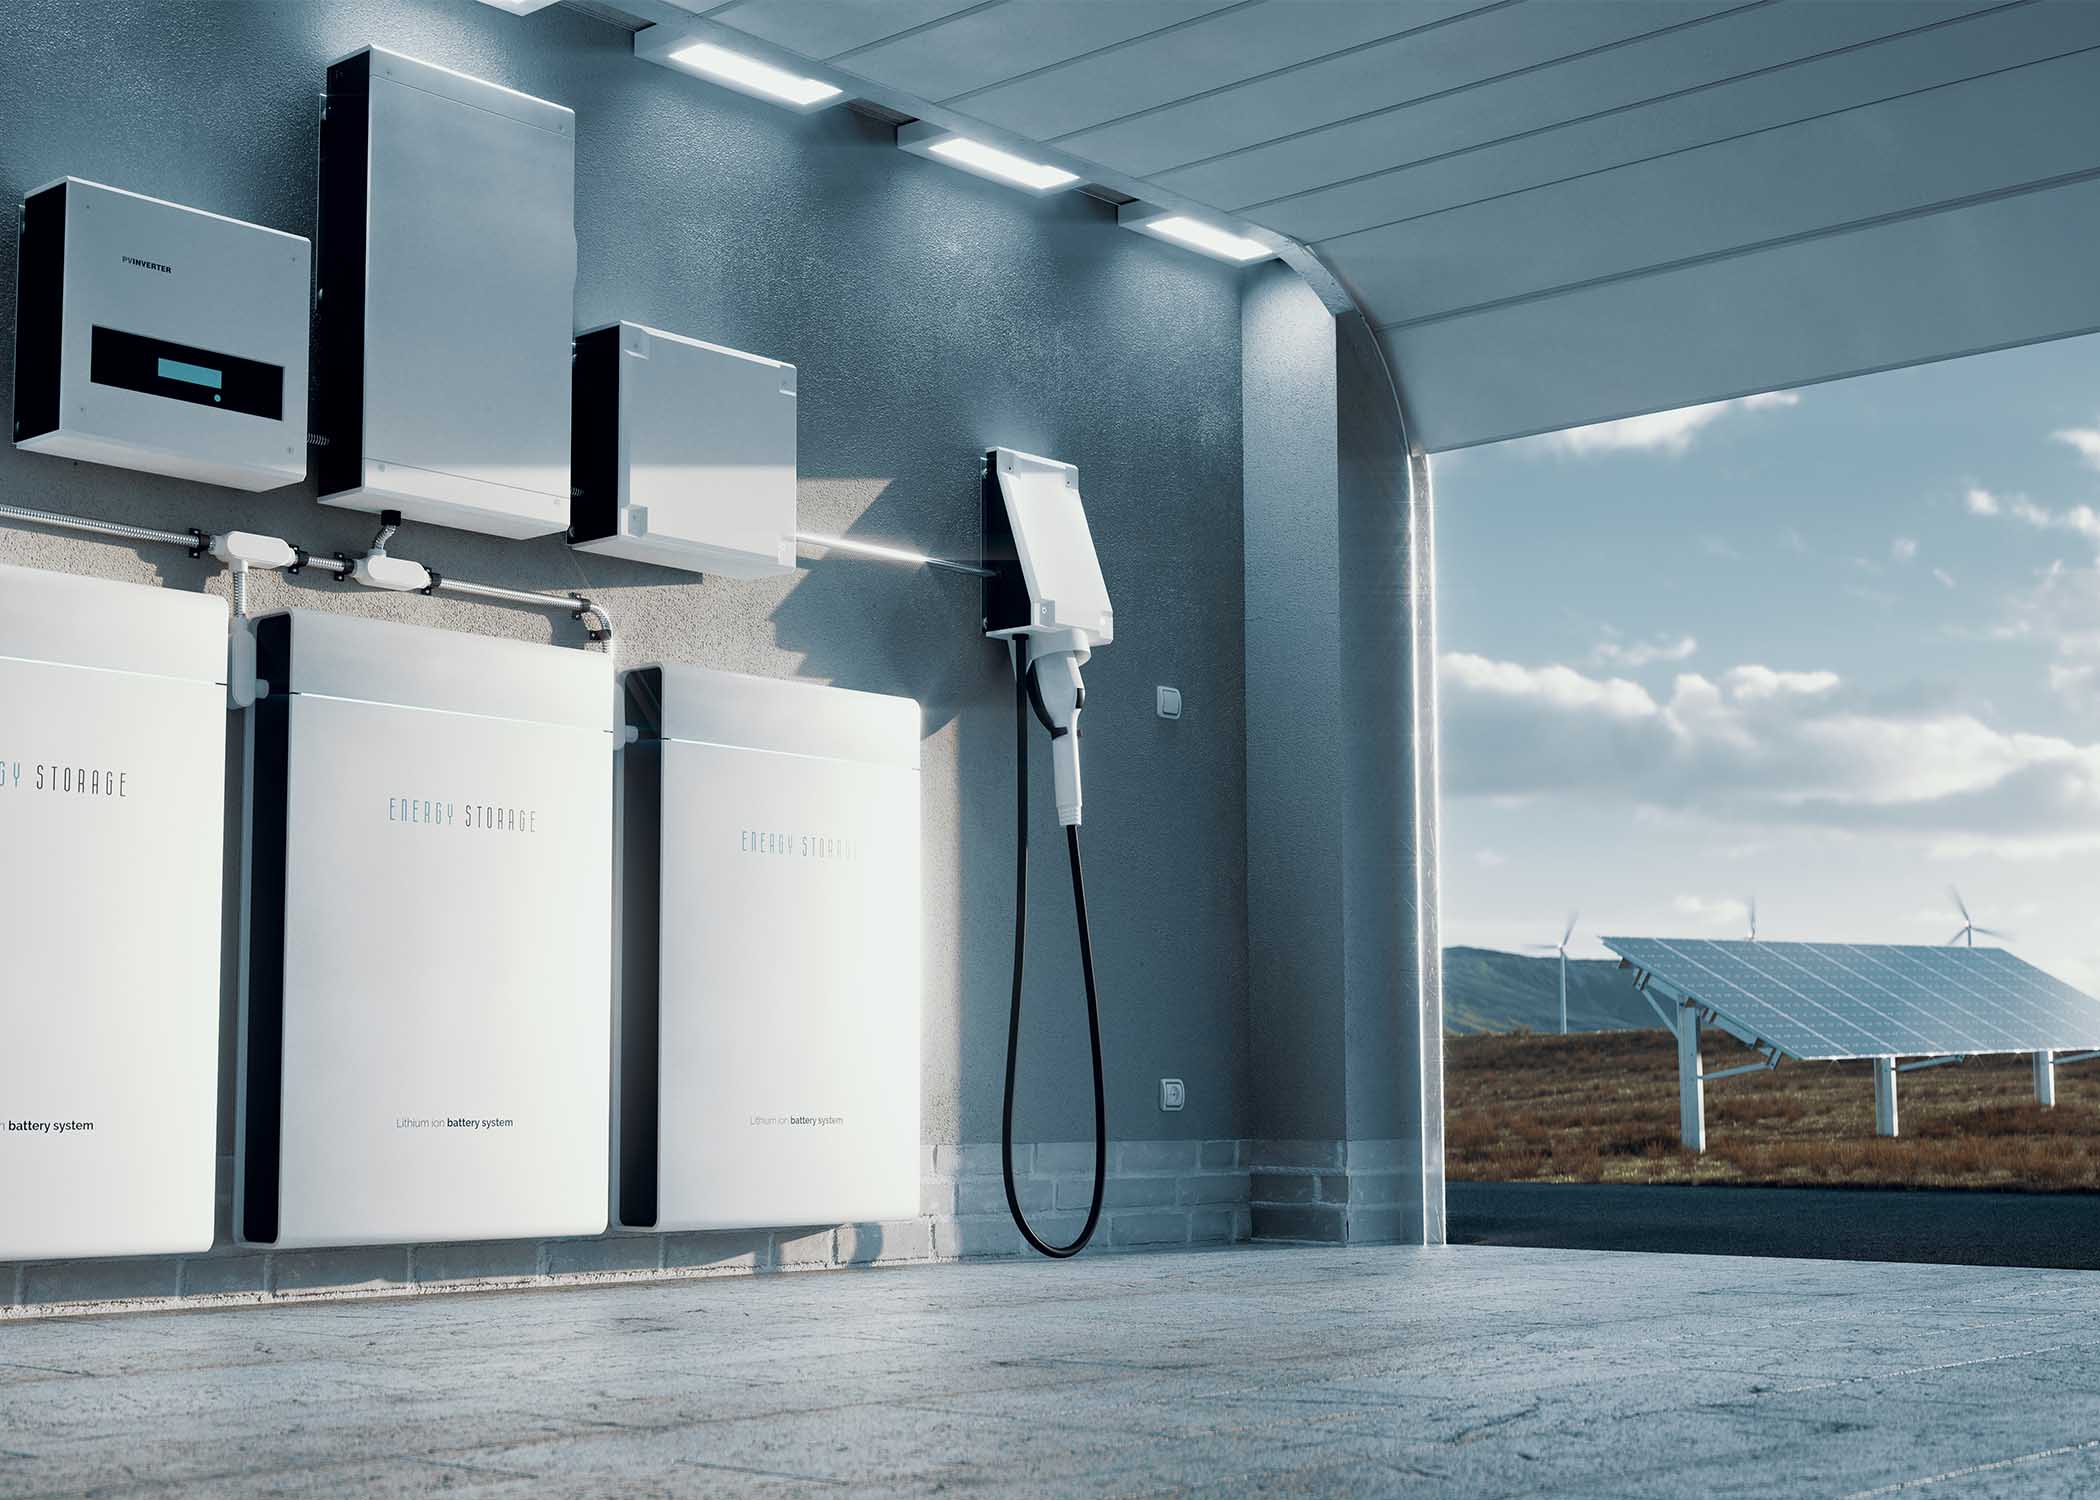
Power Storage
Off-grid systems also need proper storage to ensure essential items remain powered throughout the night.
Even if you go to bed early, these items can include the air conditioning unit, security alarm system, and refrigerator.
The type of battery also determines the size and how much charge it needs to have.
For example, lithium batteries can weather low discharges without harm, but AGM batteries should maintain a 50% to 60% or higher charge.
If space is a concern, choose lithium.
If cost is a concern, consider AGM batteries or other alternatives.
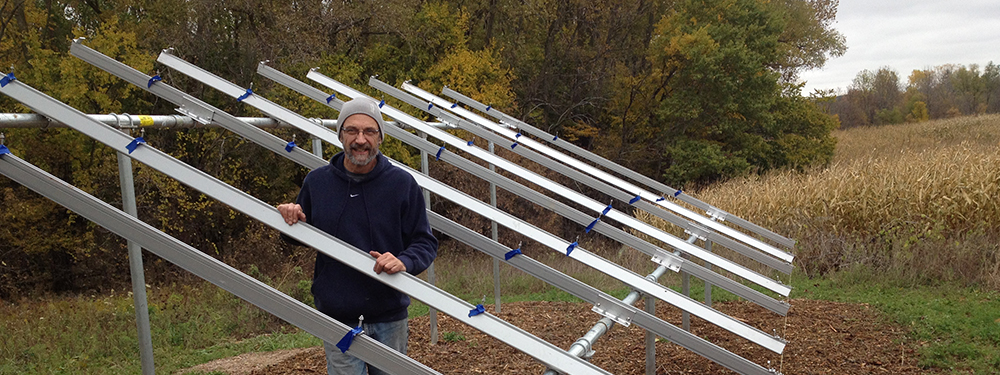
Real Estate
The roof is usually the best spot for panel placement and generally tilts your panels in the right direction.
When this isn’t possible, or you don’t have enough room on the roof, you may need to give up some ground space to complete the installation.
If you have a small house or a small property, this could determine the size of your DIY solar array for you.
Budget
Ultimately, your budget impacts how extensive a solar array you can afford to install.
Take a close look at the requirements for installing solar and determine what you can complete independently.
Get quotes for the remaining activities.
Keep in mind that local regulations and home insurance policies limit how much electric work you may complete yourself.
Use this cost calculator to narrow down the numbers.
3. Identify the Materials You Need
The most significant factor determining the type of materials you need is whether you’re installing an off-grid or grid-tied system.
The second important factor is whether you plan to mount your solar panels on the ground or a roof.
These are some of the main components you may need:
- Junction Boxes and Splices: Requirements for junction boxes and splices differ based on use and installation type. Do your research to ensure you get the right ones.
- Wiring: Electric wiring is crucial to the safety of your DIY solar installation. Using the right sizes and material reduces the risk of overheating or fire.
- AC Breakers and Sub-Panels: When choosing an AC breaker, consider your mounting options. This may require more detailed planning on how your final system will look.
- AC Disconnects and Fuses: Disconnects and fuses are also important for protecting the safety of the wiring, your system and your home. Review local regulations for mounting options.
- Conduits and Meters: Conduits serve as the first checkpoint solar wiring passes through from the array. Bigger is always better; going too small can be hazardous.
- PV Meters: Grid-tied systems will need PV meters to measure solar productivity. Speak with your energy company before choosing and installing one.
- Solar Panels: Flexible panels are expensive and rarely used for home installations. Consequently, your choice is between the cheaper but less effective polycrystalline panel or the more effective but also more expensive monocrystalline panel.
- Inverter: If you have ever powered your home with a generator, then you likely have a good idea about how much DIY solar wattage you need. If not, review the peak power sub-section on calculating the system size.
- Batteries: Lithium batteries last longer and take up less space per amp hour. However, they can easily cost twice as much or more than AGM batteries, so consider the pros and cons.
- Mounting Materials: Roof-mounting materials include roof sealant, drills, and brackets. Ground-mounting materials include concrete, tubing, and bracing.
4. Choose a Supplier and Order Parts
Going to an experienced solar components provider can often get much better deals for purchasing a system vs. singular components.
Buying solar components for a complete system array is also a lot like a bulk purchase and could result in savings based on economies of scale.
Free consultations help ensure you get all the necessary components and ongoing support.
5. Make Arrangements for Safety
Make the necessary safety arrangements no matter how personally involved you plan to be in your DIY solar installation.
Professionals experience nasty slip-and-falls on the ground and the roof regularly.
Take all recommended precautions — and then some — to ensure your safety.
Safety Hazards
The primary hazards to consider include heights, tripping hazards, heavy lifting, and electrocution.
Any of these can lead to severe injury, but you can significantly reduce risks by researching, using protective gear, and following installation recommendations.
Create a safety plan and familiarize yourself with it before your components arrive.
Safety Gear
When installing your DIY solar system, it’s vital to wear close-toed boots throughout the entire process.
You should also wear gloves and protective gear.
Use a safety harness and roof anchor when working on the roof, no matter how comfortable you are with heights.
There are also special boots that provide extra grip for roof work.
If you need to mix concrete for ground-mounting, be sure to keep your gloves on, wear a mask, and dress in overalls.
Safety Procedures
Always plan your DIY solar installation times around the weather.
Smog, rain, snow, freezing temperatures, or lightning are clear indicators not to work on your solar installation.
If you plan to keep your solar components outside, consider the weather and theft when determining how to secure them.
Throughout the installation process, it’s also a good idea to remove metallic jewelry, such as watches and rings.
If you begin to feel tired or ill at any point, take a break.
Property Safety
You may need permits before you start digging holes in the yard for ground-mounting.
Even if you don’t, it’s a good idea to talk with your utility company about the location of lines on your property.
This reduces the risk of damage to your sewer, gas, water, or communications systems.
Safety Training
You’re probably already familiar with best practices for heavy lifting and first aid.
However, consider safety training if you plan to operate heavy machinery or complete the electrical work yourself.
This gives you the knowledge and the confidence to complete a safe installation.
6. Plan Wiring and Electrical
Take time to map out your DIY solar wiring for a neater installation and fewer hazards.
Neat installations are easier to maintain and diagnose.
They also result in fewer tripping hazards for people on the property.
It may take time to perfect your wiring plan.
Keep tweaking it as you get insights from working on other aspects of the installation.
Consider these tips from expert installers:
- Plan the color of the wiring to mark negative vs positive wires
- Use spring clamps whenever available to hold wires in place
- Use wire clips when there are no built-in methods to hold wires in place
- Prioritize access to the array when mapping out the wires
7. Determine Solar Panel Placement
Solar panel placement is one of the single most significant contributing factors for maximizing DIY solar productivity.
Choose areas with little to no shade and face south or southwest.
If you place panels on the roof, they will most likely face south.
South-facing panels have the most optimal productivity throughout the day, but some experts now argue that southwest-facing panels make more sense for off-grid applications.
This placement aligns the solar panels with the sun’s direction at the time when energy consumption is typically highest.
However, south-facing panels may work best for you if you:
- Have a different schedule
- Maintain a good battery bank
- Sell excess solar production to your energy company
8. Prepare for Battery Installation
Where you can place your batteries, under what conditions, and how to mount them all come down to the specific type you choose.
In some cases, you may also face additional restrictions across manufacturers.
So, best practices for DIY solar battery installation involve purchasing the same battery from the same manufacturer and following the instructions received.
Lithium batteries generally provide the best mounting options as they don’t need to be vented or maintained.
The lack of liquid in these batteries also makes them safer.
You can usually mount them at different angles, such as on the side or upside down.
If you are working with batteries that contain acid, keep baking soda on hand to neutralize the acid if you get splashed.
Also, keep a phone nearby to dial emergency services if necessary.
It’s not a bad idea to put an emergency number on speed dial or ensure your phone can accept the command via voice.
9. Outsource Technical Tasks
You may want a full DIY solar setup, but local regulations, the insurance company, and your skillset can throw a wrench in the plan.
Ensure you hire professionals for the jobs you choose not to complete yourself.
They should be bonded, licensed, and insured.
Companies that provide guarantees are also worth considering.
You can then serve as a general contractor or project manager while the work is completed.
10. Do a DIY Solar Inspection
Before you turn anything on or start using the system full-time, complete a thorough inspection.
Ensure wires go where they should and that you have followed all safety requirements.
In some cases, a local official, bank representative, or insurance company representative may also need to inspect the work.
Inspecting it first ensures you catch potential errors before they do.
A Partner Every Step of the Way
Do you feel prepared to tackle a DIY solar installation for your home?
We at Unbound Solar® provide the support and components you need to manage and complete your project.
Our professionals also provide peace of mind knowing that you have expert advice behind the DIY solar installation decisions you’ve made.
Get started today with a quote!