Solar has skyrocketed in popularity in the last 10 years.
And for good reason (reasons rather):
- Gain a lifetime of savings on energy bills (and the system pays for itself)
- 26% federal tax credit on total project costs (including equipment, permits, and installation)
- State and local tax incentives
- The opportunity to send excess power back to the utility company for credits
- A minimum 4% increase in the value of your home
- A 20% quicker home sale if you own the system
- A reduced carbon footprint
- Protection for your family during outages
And DIY solar has soared in popularity in recent years.
Why?
Because labor costs comprise the greatest portion of your project costs.
But there’s a solution catching fire.
DIY solar panel kits.
It may seem intimidating to undertake such a project.
Fear not.
We’ve got you covered.
Let’s check out how to prepare yourself and your home for a successful installation with these seven steps.
1. Find Out Your Local Laws and State Incentives
Solar installations come with tax credit incentives depending on where you live.
Some localities, such as California, have made solar installation mandatory on new builds.
Before you plan your project, know your state’s restrictions and incentives so that you can set practical guidelines for your at-home project.
You can look up your state’s policies at the Database of State Incentives for Renewables and Efficiency (DSIRE).
Plug in your zip code to check tax incentives and policies in your area.
In addition, there are other factors to weigh, based on your location:
- Solar panel wattage limits on newly constructed homes
- Permits and restrictions for licensed solar installers
- Insurance requirements for DIY solar panel kits for home use
- Energy credit transactions with your local utility company
- Potential rules regarding solar panel placement on roof or ground
2. Determine the Amount of Solar Panels You Need
The first thing to think about is your overarching goal with solar.
Do you want to supplement your current power usage? Or do you want to be completely independent of the local power grid?
Off-grid systems are extensive networks that may require assistance for installation.
Grid-tied systems are convenient and may even be used to sell back energy credits to your utility company.
If you are new to DIY solar panel kits for home use, using this clean power source to cover only your basic needs is a great place to start.
Use the following to figure out how many solar panels you will need.
- Annual Energy Consumption: Tally up a year’s worth of energy consumption from your bills and divide by 12 to account for seasonal fluctuations. Note that pollution, panel type, and sunlight exposure on your property can also affect your consumption.
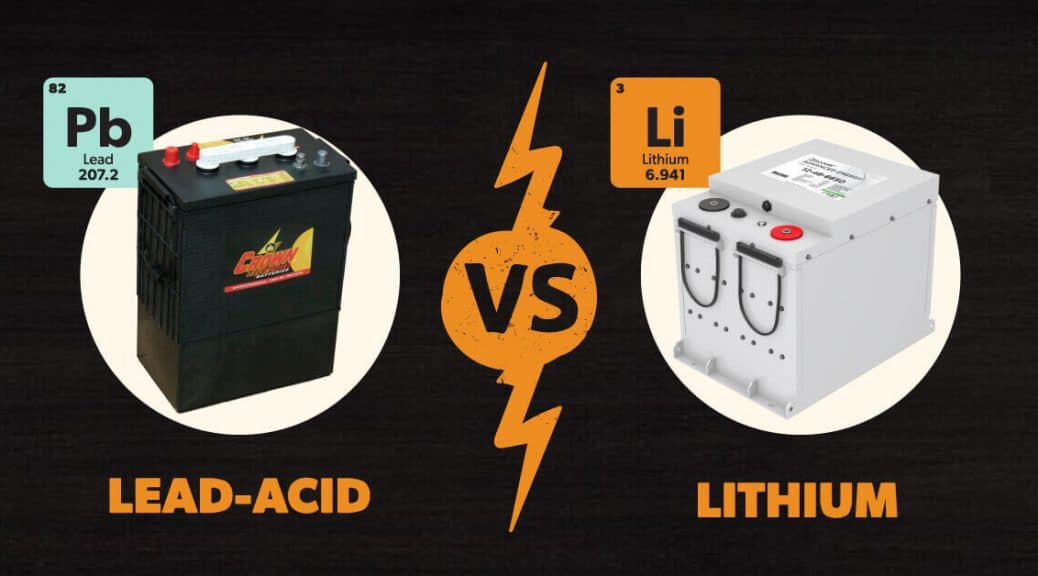
- Off-Grid Inverter and Power Storage: Calculate simultaneous usage requirements for your high-power items to determine the inverter size you need. To keep things running throughout the night, you also need a battery bank.
- Available Installation Space: The ideal space for installation has minimal shade and has space for your panels to be south-facing. If you have limited space, this can directly affect how much energy you can actually use from a solar panel kit. If you have a lot of acreage, consider installing panels on the ground to use more energy. Ground installations are beneficial for grid-tied systems, especially if your local power company can arrange an energy credit sale with you.
- Budget: Calculate the actual budget for your solar panel kit. If your local area has limited options for tax incentives, you can opt to install panels to supplement your current energy supply, rather than replace it.
3. Find a Reputable Supplier for DIY Solar Panel Kits for Home Use
The benefit of opting for a solar panel kit is having all the parts you need in one package.
Rather than embarking on a journey to find the individual components on your own, choosing a kit from a reliable supplier saves you time and money.
Kits are cost-effective and convenient.
Essential qualities to look for in a supplier include:
- Licensed professionals
- Length of product warranty
- Availability of customer support
- Customized consultations and installation guides
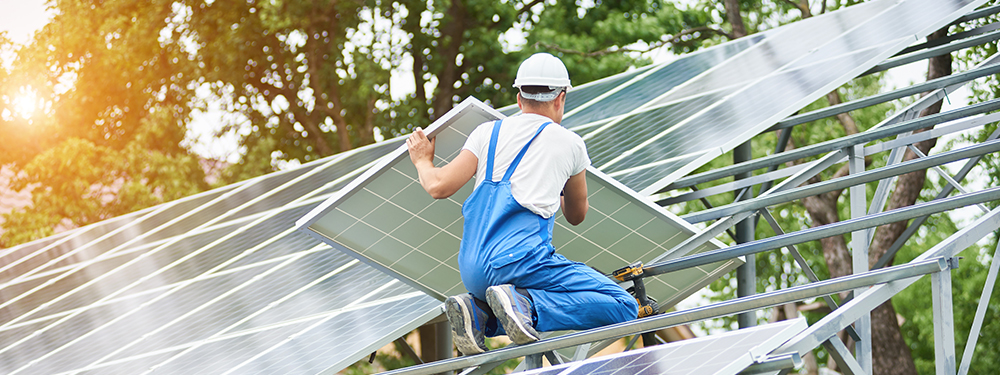
4. Plan for Safety Arrangements
When you opt to install a DIY solar panel kit for home use, being hyper-aware of proper electrical wiring and your safety plan is essential.
Prevent unnecessary accidents by arming yourself with proper safety gear, such as:
- Closed-toed Boots: These should be worn throughout the entire installation. Choose boots with excellent traction, especially for roof work.
- Gloves and Protective Gear: Fire-retardant gloves and clothing is optimal but safer.
- Safety Harness and Roof Anchor: If you are planning to have a roof-mounted system, a harness and anchor is important to prevent falls.
A thorough safety plan should include the following:
- Structured Procedure: Plan your installation according to the weather. If you intend to store your kit components outside, ensure you have a secure storage place to prevent theft and damage. Remove metallic accessories before handling equipment. Schedule pre-set break times to prevent exhaustion.
- Property Limits: Obtain the necessary permits before you dig holes for ground-mounted systems. Confirm your legal property boundaries to set your system.
- Safety Training: Familiarize yourself with best practices for operating heavy machinery and electrical work as well as giving basic first aid. There are courses online and in-person that could save a life.
5. Understand Your Electrical Wiring Plan
Some areas may require a license for electrical work.
Make sure you confirm what you need.
Depending on your state, you may be able to install the electrical wiring yourself.
Here are tips on how to complete your electrical work:
- Before starting, closely map out your solar wiring for a neater and safer installation
- Mark negative and positive wires in different colors
- Use clamps to hold wires in place
- When mapping your wires, prioritize access to the main array
6. Arrange a Solar Inspection After Installing DIY Solar Panel Kits for Home Use
Before you install your DIY solar panel kit for home use, find out if you need a bank or insurance company representative or local official to perform an inspection.
Some states require a third-party inspection before you can use your solar system.
You may also need a local official to connect your system to the grid if you have a grid-tied system.
7. Partner with a Premium Solar Supplier
If you are planning to install your DIY solar panel kits for home use by yourself and you don’t know where to start, our team at Unbound Solar® provides unparalleled support throughout the entire process.
From planning location logistics and requirements to installation guidance, our professionals are here to help.
Reach out today for a consultation!