Solar power has become a hot feature for homes.
And you, as a builder, know that California mandated all new homes incorporate this lucrative addition.
Lo’ and behold, Oregon is now following close behind by requiring all new homes be “solar-ready.”
That’s nice. But what the heck’s the difference between them?
Allow us to break it all down.
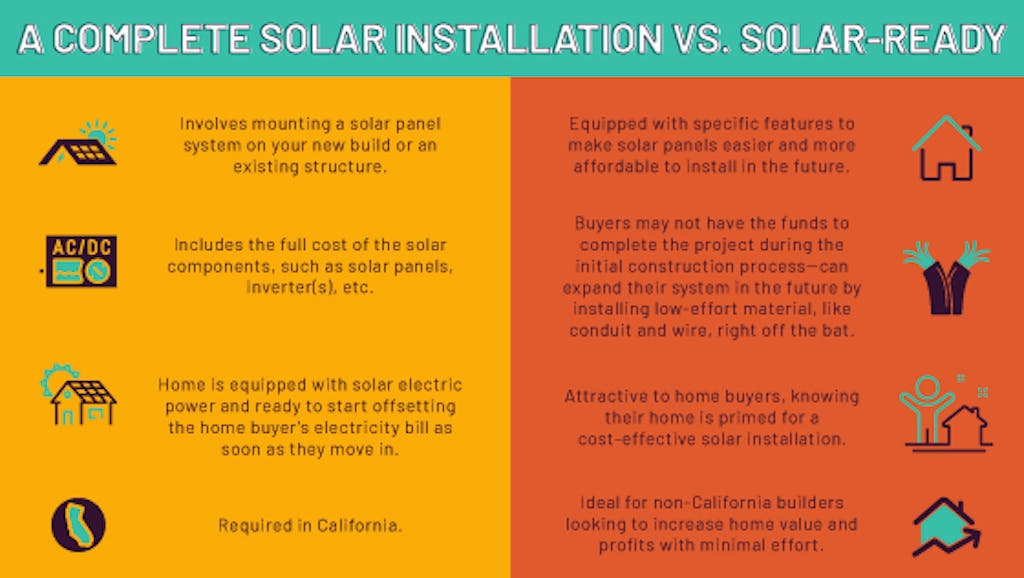
NOTE: A “solar-ready” home doesn’t meet California’s solar/green initiatives for new home builds. “Solar-ready” solutions are ideal for non-California builders looking to increase value with minimal effort.
As a builder, it’s a major advantage to understand the difference between a “complete solar installation” and a “solar-ready solution.” Some clients may want you to complete the installation during the initial construction, while others may ask how to install solar panels themselves in the future.
Builder Checklist for a “Complete Solar Panel Installation“
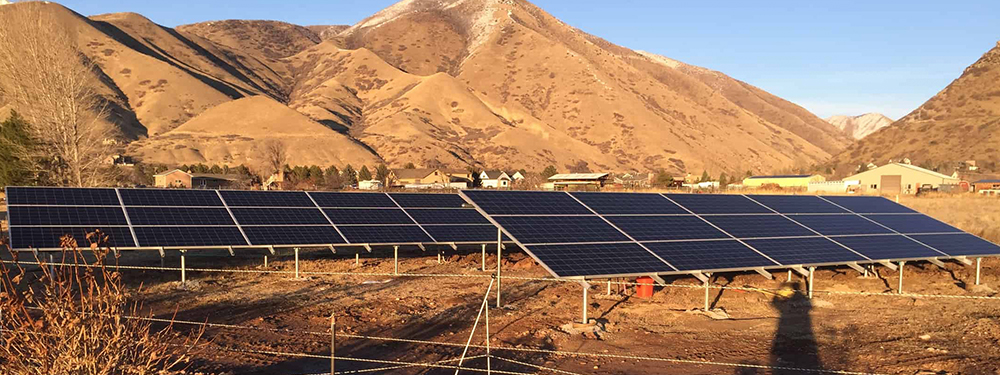
Solar panel systems can be installed during the initial home construction or added at a later time.
No matter the type of installation you’re completing, follow these essential steps for a complete solar panel installation.

1) Design Process and Site Visits
If integrating the solar panels into a new project, appropriate features must be added to the house plans.
The roof should be south-facing and installed at a 15 to 30-degree angle for maximum sunlight absorption. Also, trees and other large structures should be avoided since they provide pesky shading.
If your client wants a solar panel system installed on an existing structure, the process is different. First, an engineer will visit the property to evaluate the home’s electrical status. All home features must be compatible with a solar panel system.
The engineer also checks out the condition and durability of the existing roof. You may need to have the homeowner upgrade the electrical panel to increase the home’s amp capacity before the installation can begin.
A general site visit is completed before the engineering visit. And before a contract is signed, a company representative should visit the home to assess the roof type and angle. Some home styles aren’t a good fit for solar panels, and this should be disclosed to the homeowner before signing a contract.
2) Acquire Permits and Documents
We won’t sugarcoat it. Installing a solar panel system requires paperwork.

Unfortunately, you’ll be responsible for knowing local and state regulations and applying for the proper permits (you can find a checklist here).
Federal and local incentives, such as clean energy tax credits – as great as they are – require extensive applications, which will fall on your plate.
You’ll equally need to know state and local regulations when you apply for the building permit. For example, certain states require roofs to have at least 3 feet of space around the panels, while others don’t.
3) Choose Equipment and Order Supplies
You have the responsibility of using the best equipment for the installation.
The equipment should be selected before the contract is signed, whereas supplies must be ordered after the proper paperwork is filed and permits obtained.
The main components to choose from are solar panels and inverters. Work with the homeowners to select a particular brand that is durable, efficient, affordable, and aesthetically compatible with the home’s style.
4) Consider How To Install Solar Panels
For some great news, the actual installation should take 1 to 3 days.

Your technicians will start by preparing the roof. Thankfully, panels can be installed on nearly every type of roof, but the mounting hardware may vary accordingly. Your technicians will attach the mounting directly to the roof and the racking to hold the solar panels.
The modules must be wired together and the system then attached to the electrical panel.
The last step is to connect the inverter(s) to the panels, which converts direct energy into alternating (AKA usable) energy.

5) Final Approval
The final step is to get the local permitting authorities and utility companies to turn the system on and begin generating power.
NOTE: A local official must approve the system’s installation before being connected to the local electrical grid. The final approval process generally takes a few days to a few weeks depending on the area.
Builder Checklist for Constructing a “Solar-Ready” Home
Now, let’s switch gears.
You’ll need to approach constructing a “solar-ready” home differently than a traditional home project. Consider these technical items when completing your house plans.
1) Structure Positioning and Shading
Your build’s position is important because it directly impacts the functionality and performance of a future solar system.
The home must be positioned to allow for maximum sunlight to hit the panels. Ideally, a “solar-ready” home’s roof should be sloped in a south-facing manner.

Keep in mind, even a small amount of shade can impact the system’s functionality. Design and position the home to ensure there’s as little shade around the roof as possible. Throwing no “shade” is always a good thing.
2) Roof Design
The roof must be able to withstand the weight of a future solar installation. On average, a solar panel weighs 40 pounds (of course, this must be multiplied by the total number of panels). The home’s designer should choose durable materials to accommodate this potential load.
The design should also minimize the number of other structures on the roof. A durable roof design with planned vents, dormers, and chimneys makes for an easier panel installation down the road. By carefully considering the roof design when constructing a “solar-ready” home, you also reduce the risk of roof leaks in the future.
Depending on the buyer’s requirements, you may want to install the solar panel system mounting hardware now. Installing the mounting during the initial home construction can eliminate confusion later on.
3) Electrical Source
Install an electrical source for the solar panels in a location that’s easy to access and won’t cause electrical hazard issues. Yes, it’s a bit of a no-brainer.

Design the home’s electrical panel to ensure it has the capacity to handle the extra amps and wiring from the solar panel array.
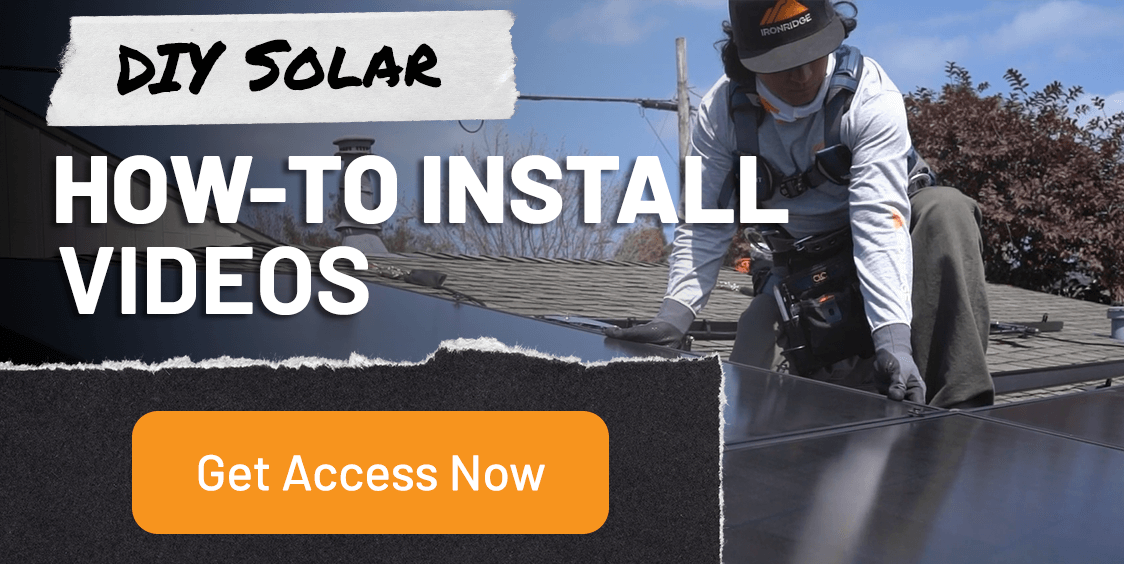
Work With Unbound Solar and Learn How To Install Solar Panels
If you’re a builder looking to install solar systems for your clients, we can simplify the entire process for you, including cumbersome permitting!
We’ve partnered with Greenlancer to deliver permit-ready drawings and professional engineering reviews for your solar projects – a $550 value-free for you through the end of this year if you buy from Unbound Solar®!
Who doesn’t want more money in their pocket?
Contact us today!